Installation
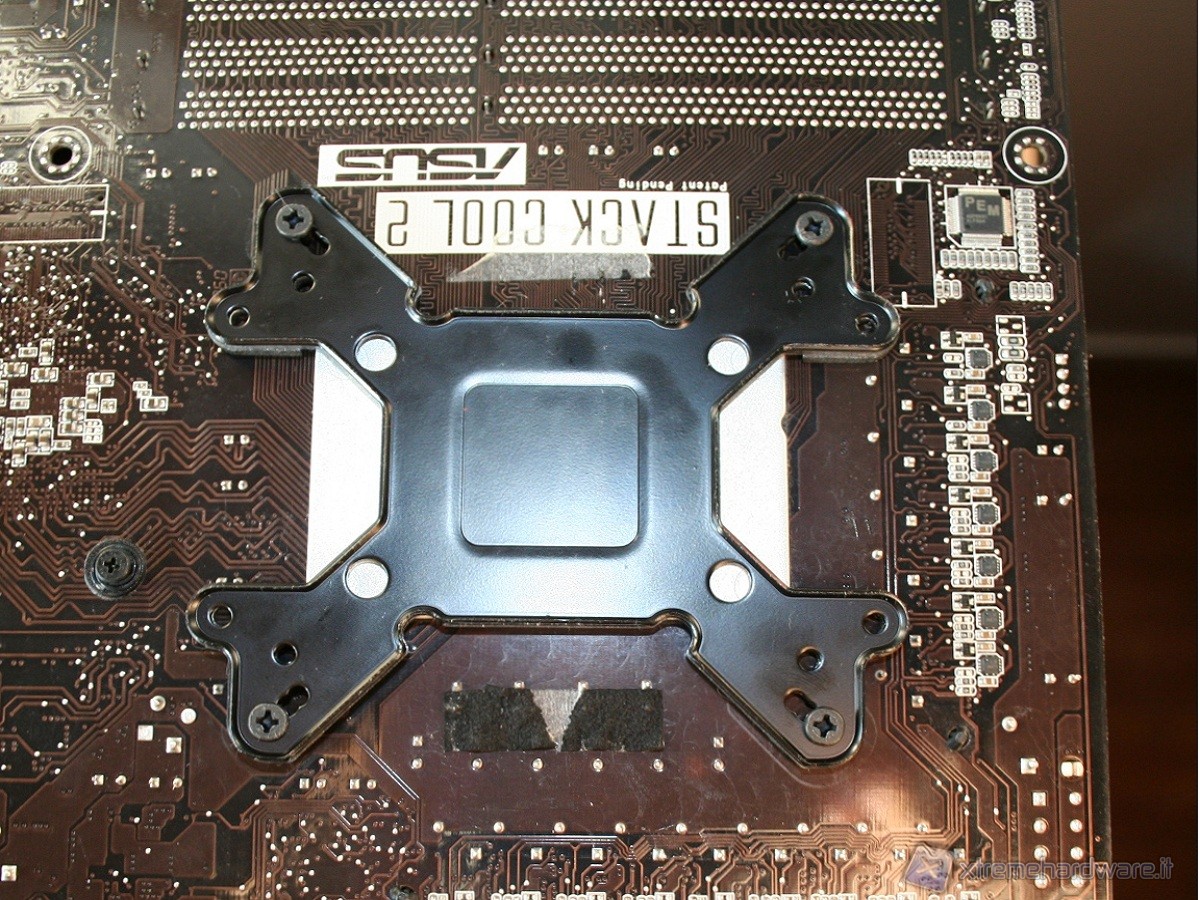
Installation is very simple: we need only to follow the illustrations and in few minutes you will easily have it done. In the case of Intel sockets, simply put the long screws on the backplate and place the spacers, then, after applying the thermal compound on the CPU, put the heatsink over the CPU and insert the backplate from the back. Finally tighten the screws with moderation, leaving one turn and a half before the stop. If you have a hole in the motherboard tray, behind the CPU socket, (recent feature of the last generation cabinets), you can enter from ahead the mounting screws and proceed with the operation. Finally you should check if it's all well tightened and steady and if the base of the heatsink is in direct contact with the CPU.
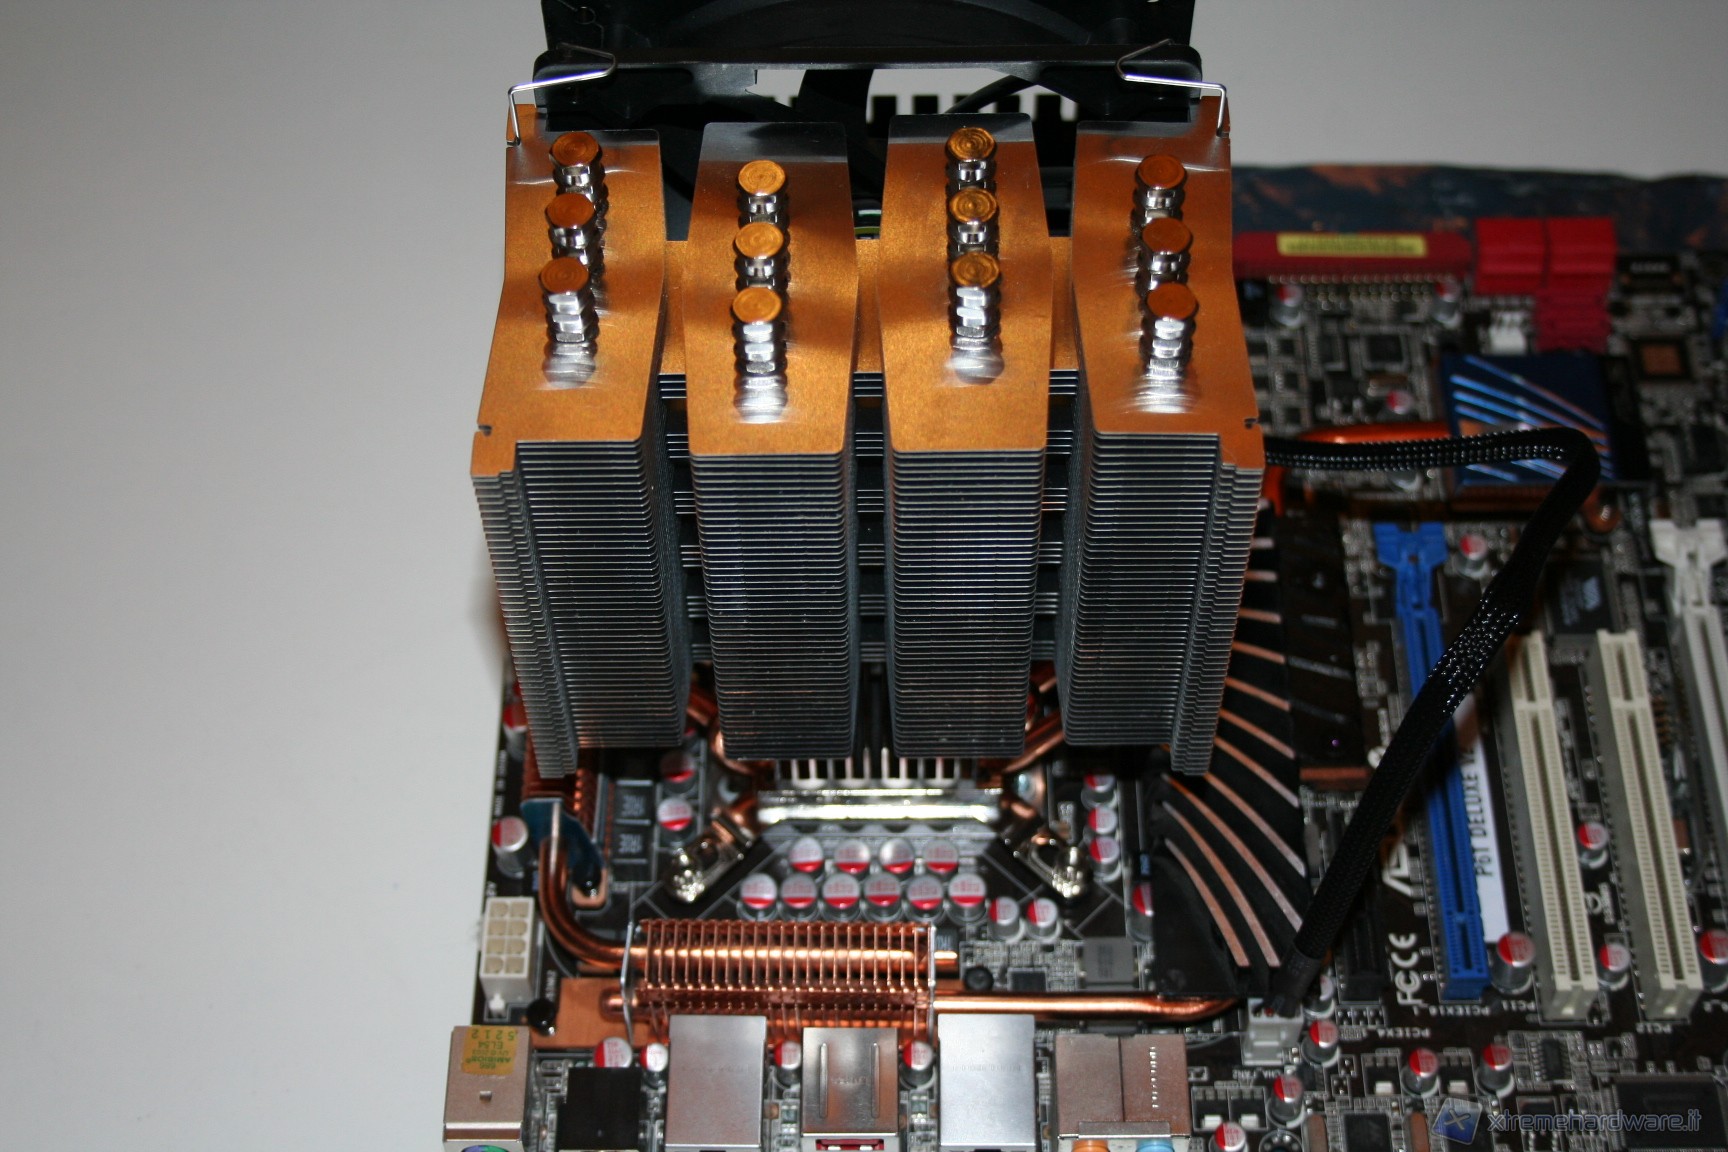
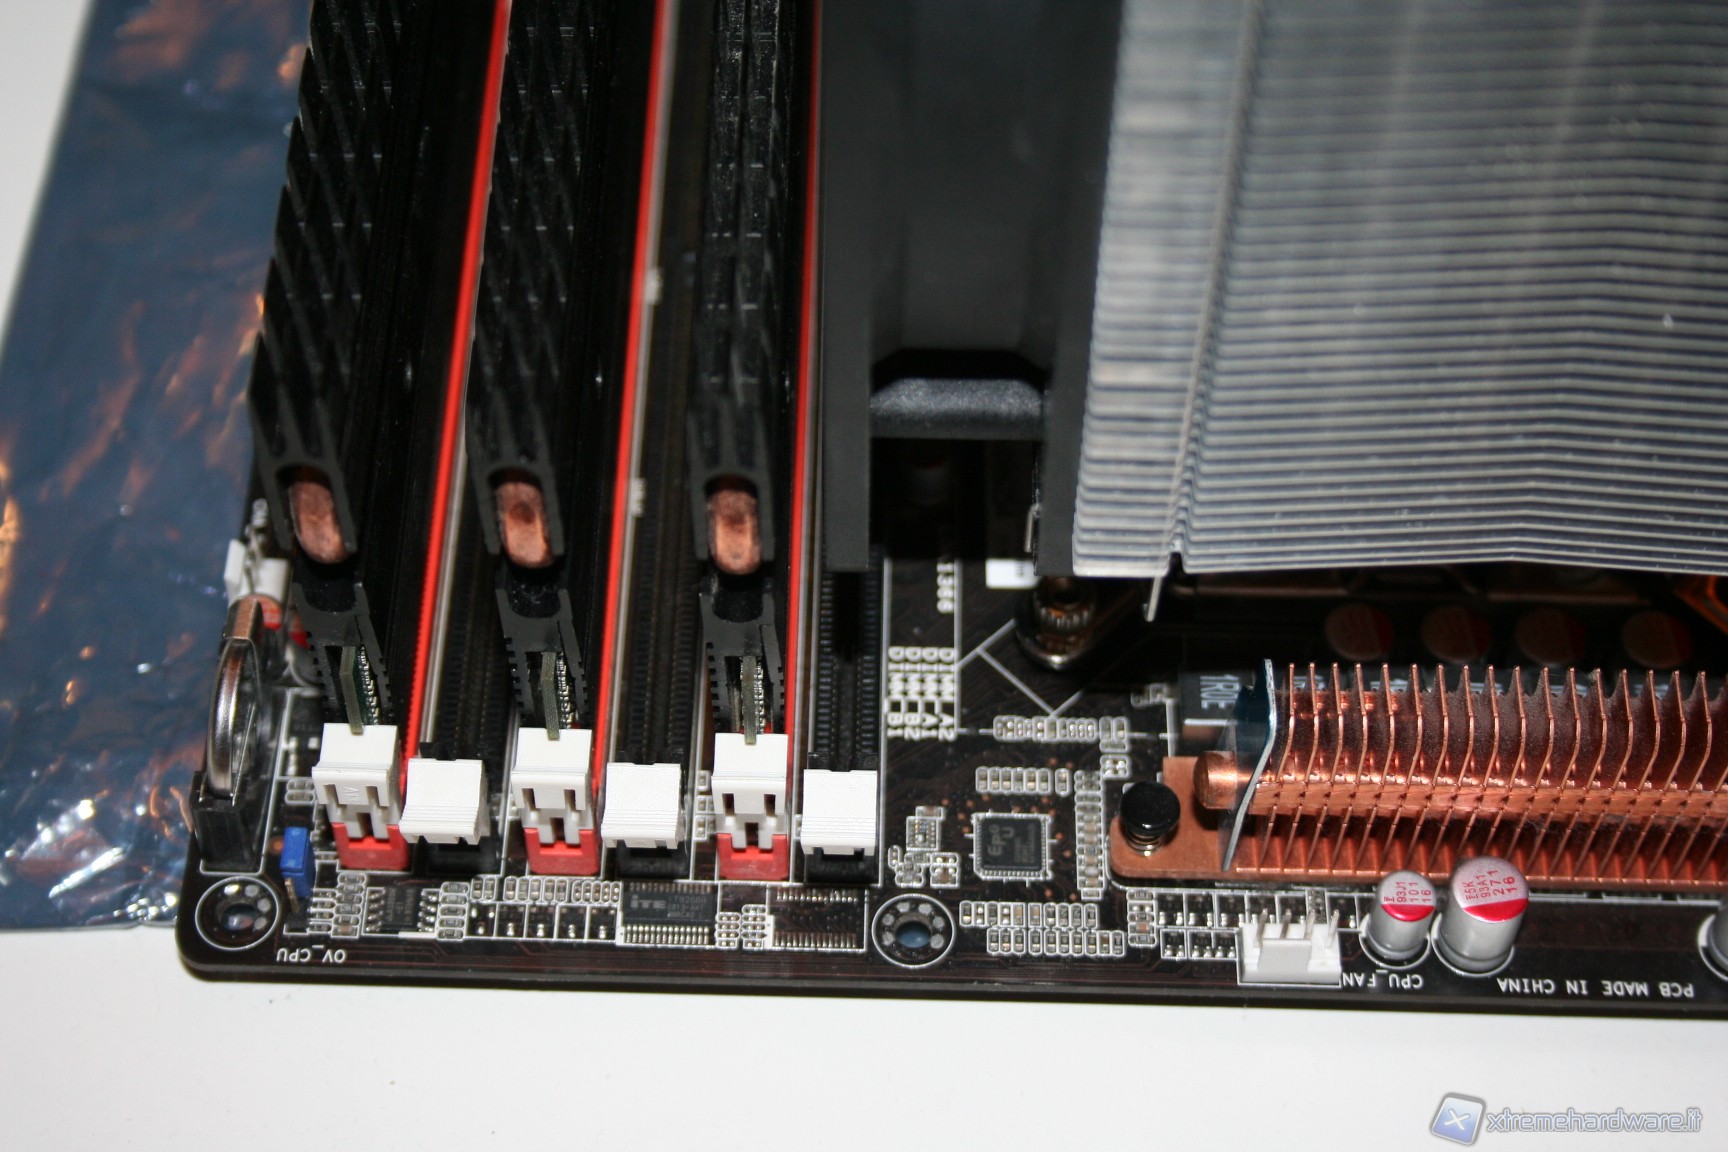
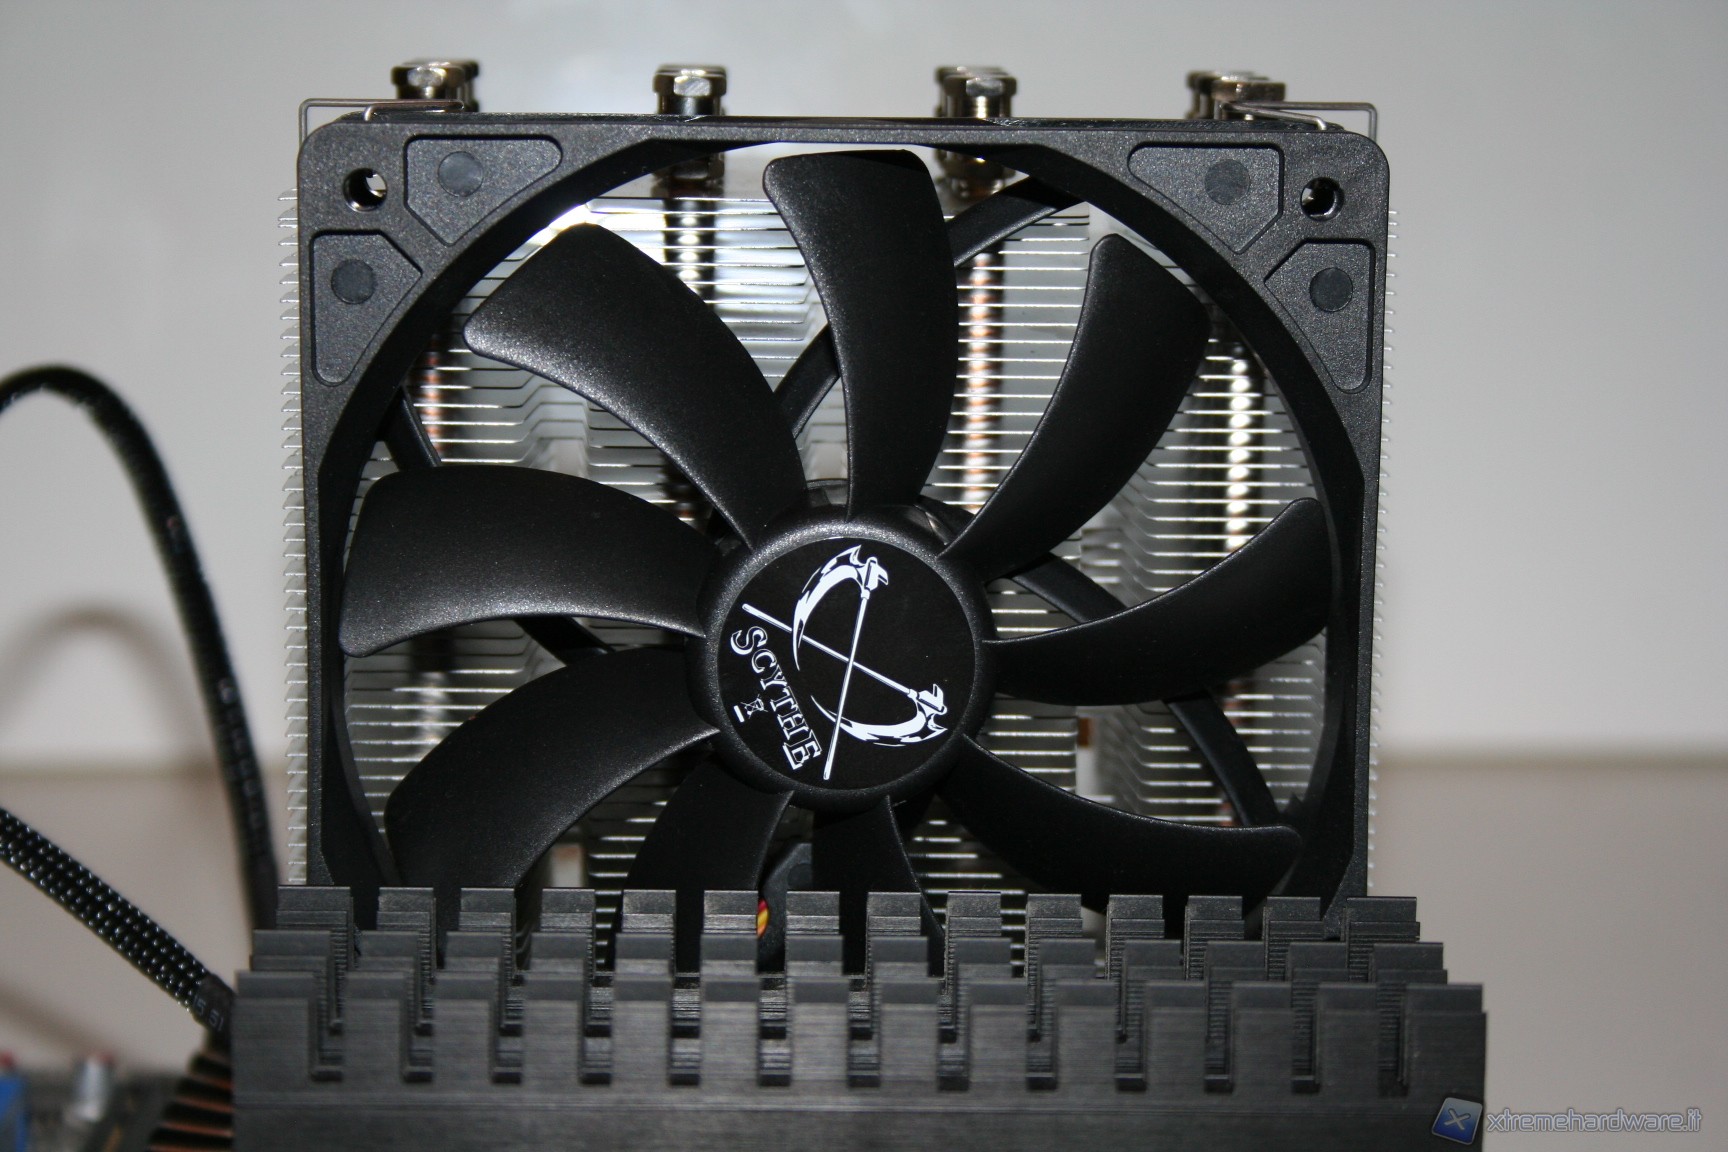

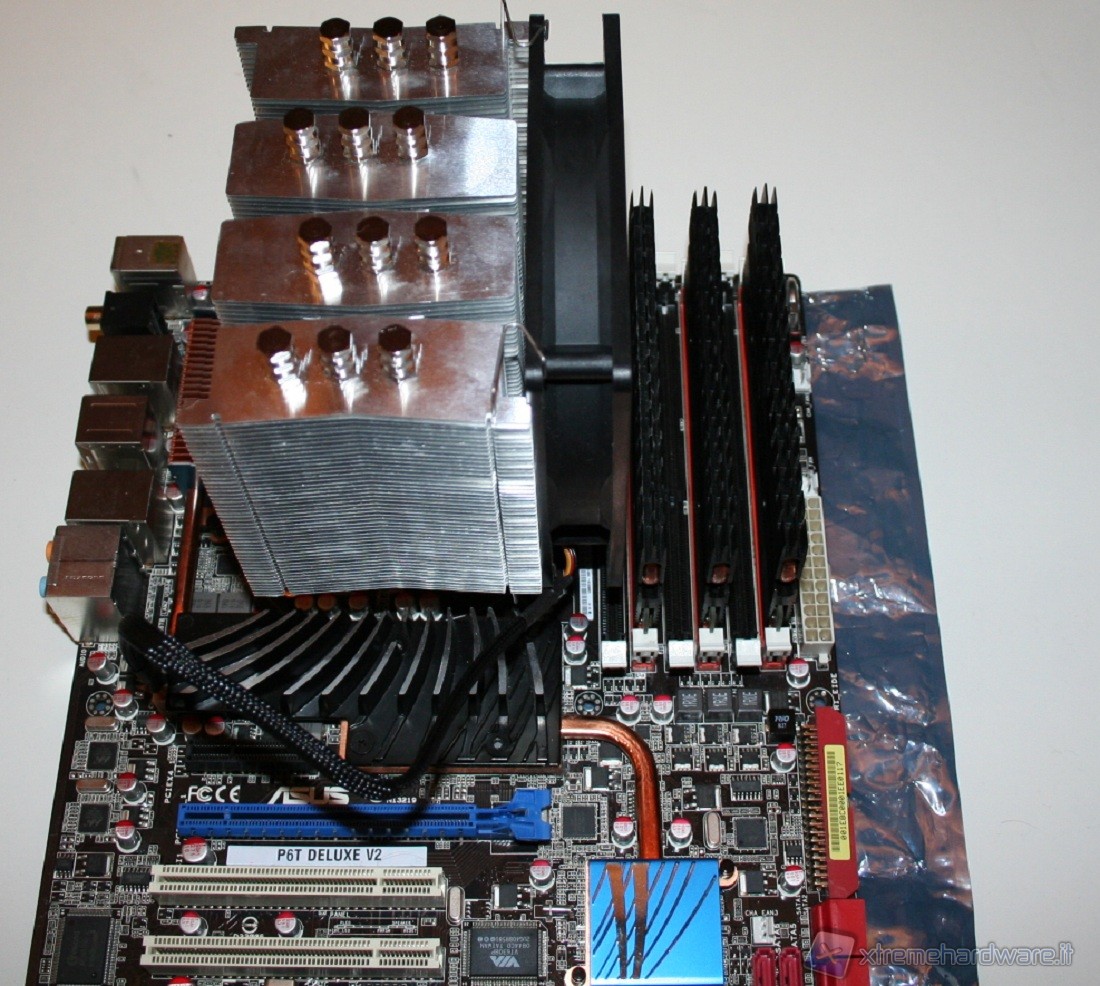
As Scythe usually grants, installation is easy and everything is very stable, once the operation is complete. The only negative note, although the overall compact size, is that if you mount the 120mm fan in push, which comes as factory default, you will occupy the first slot of RAM. However, there is the possibility to mount the fan in a pull configuration (extraction) in the back of the heat sink.In doing so, anyway, you can have a slightly worse performance but of course makes it possible to populate all six slots of RAM available in a LGA 1366 configuration. We note also that the installation was done on an ASUS P67 Deluxe V2: in other motherboards, such as the Gigabyte X58-UD5 , where the distance between slots and the socket is shorter, the fan could interfere also with the second slot instead of just the first.